Creating Amazon VPC Resources via Console
In this guide, we are going to create Amazon VPC resources like Subnets, Route Tables, Internet Gateway etc via Console


Prerequisites
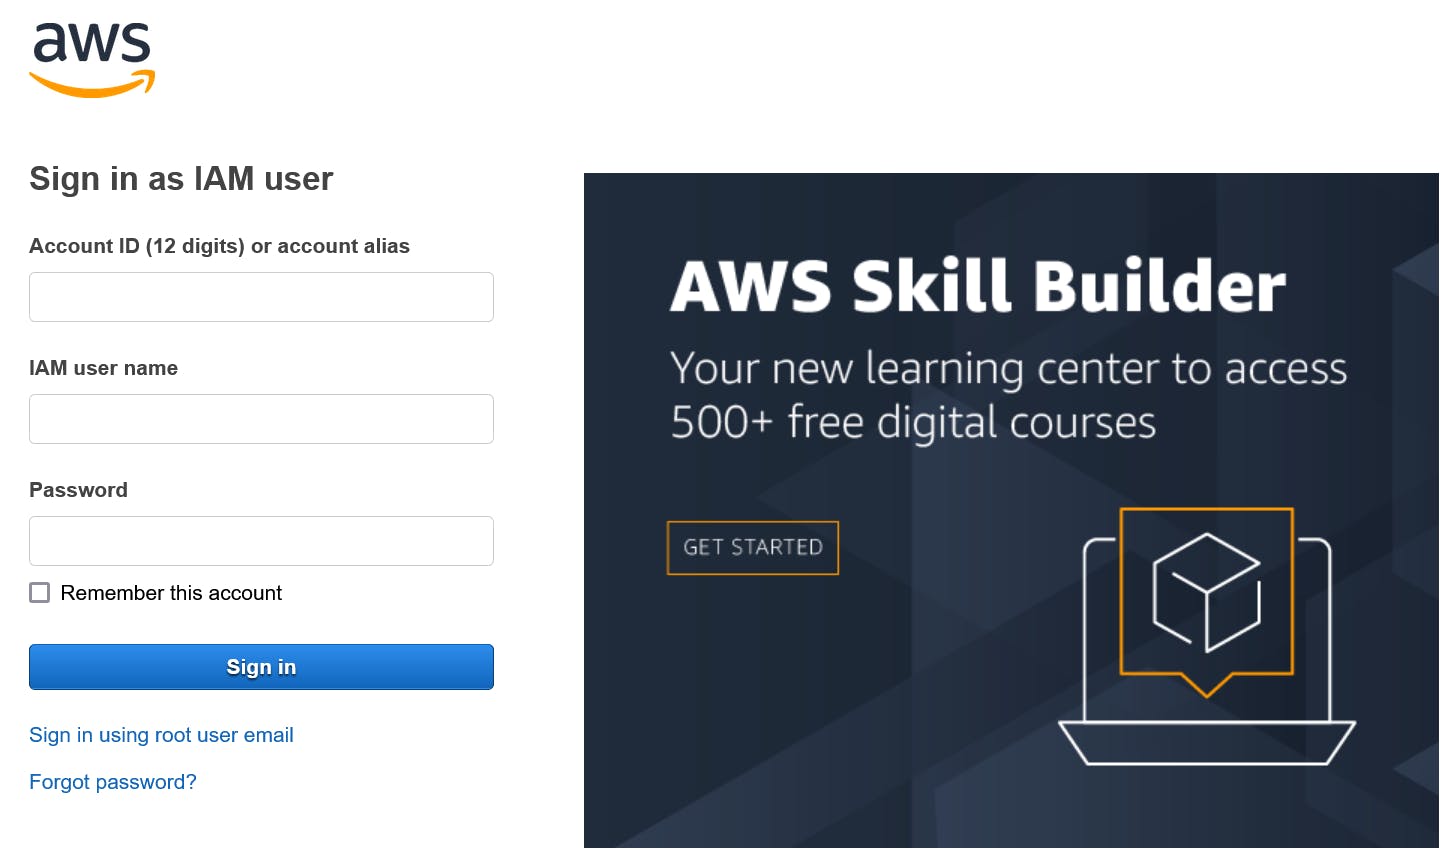
Login to your AWS account with below details
Account ID
IAM User name
Password
Please make sure that the user has the appropriate permissions to create various VPC resources
VPC
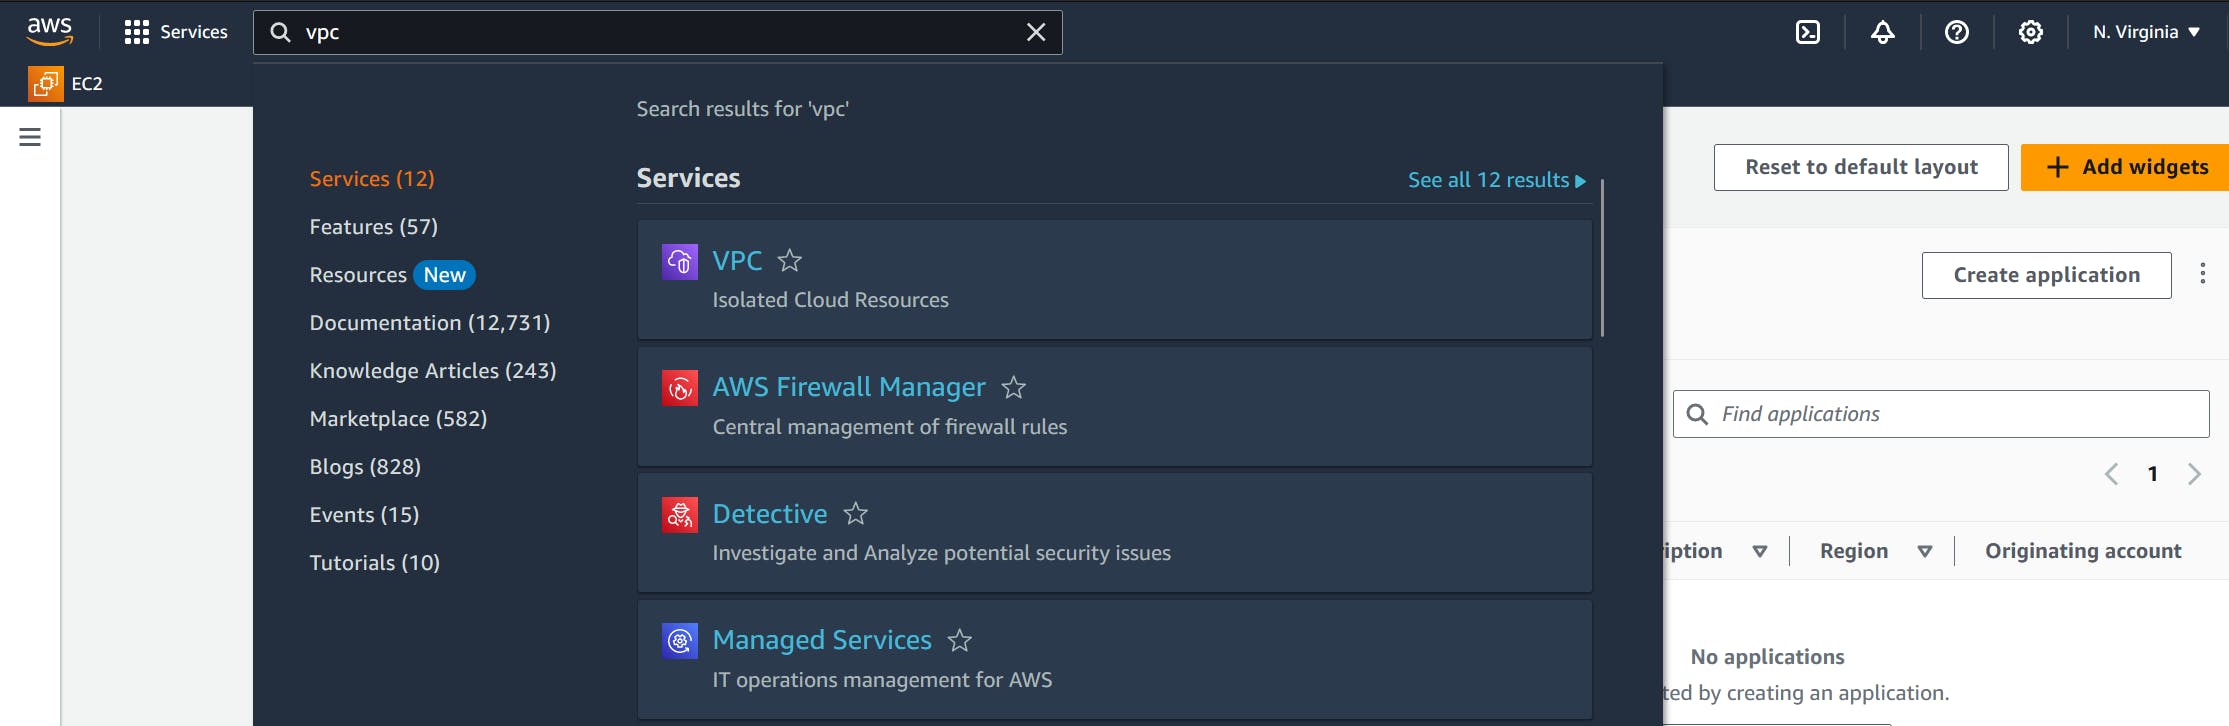
Once logged in to the console, search for VPC service in the search bar and select the service
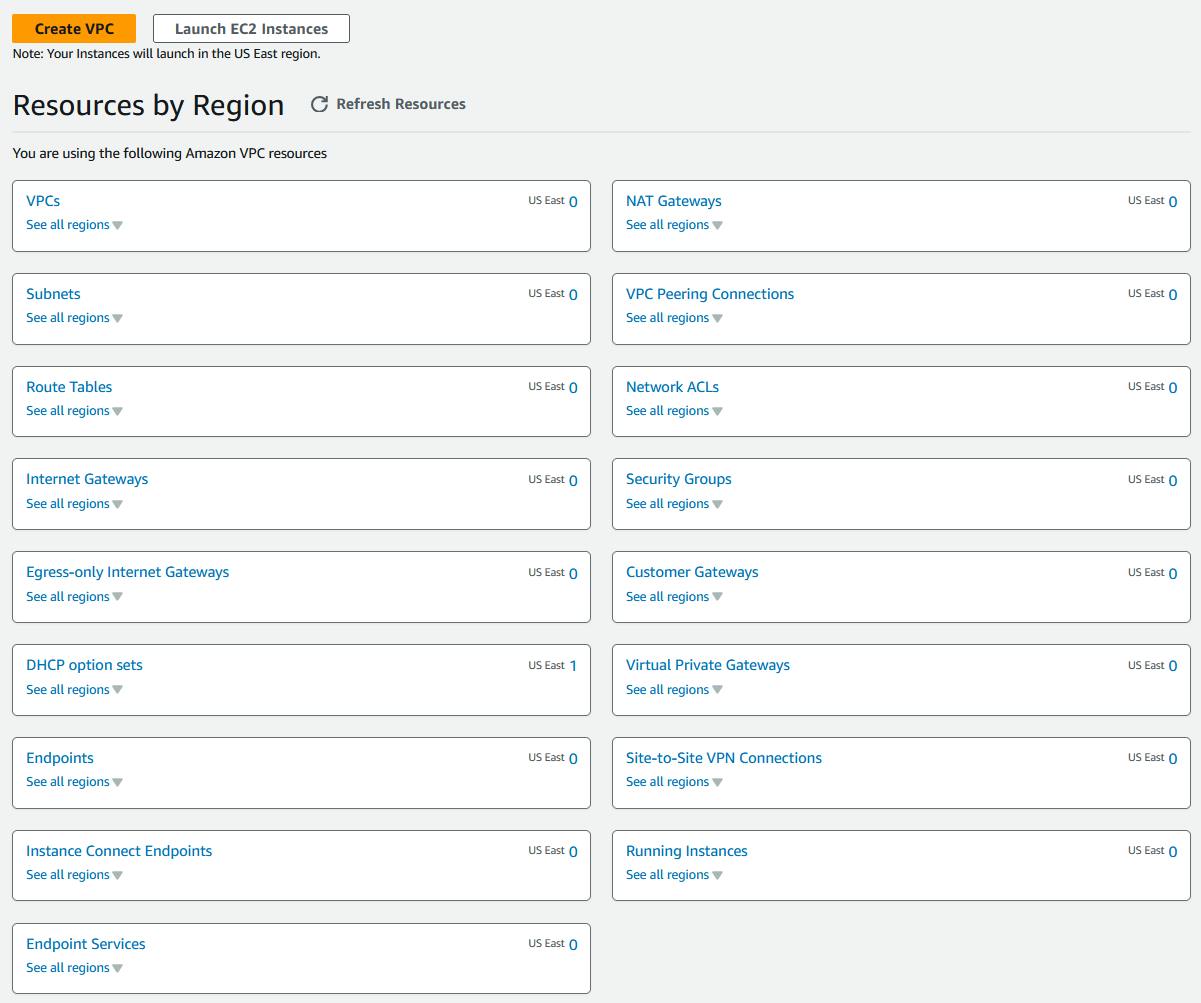
Please note that we are creating resources in the us-east-1 (North Virginia) region
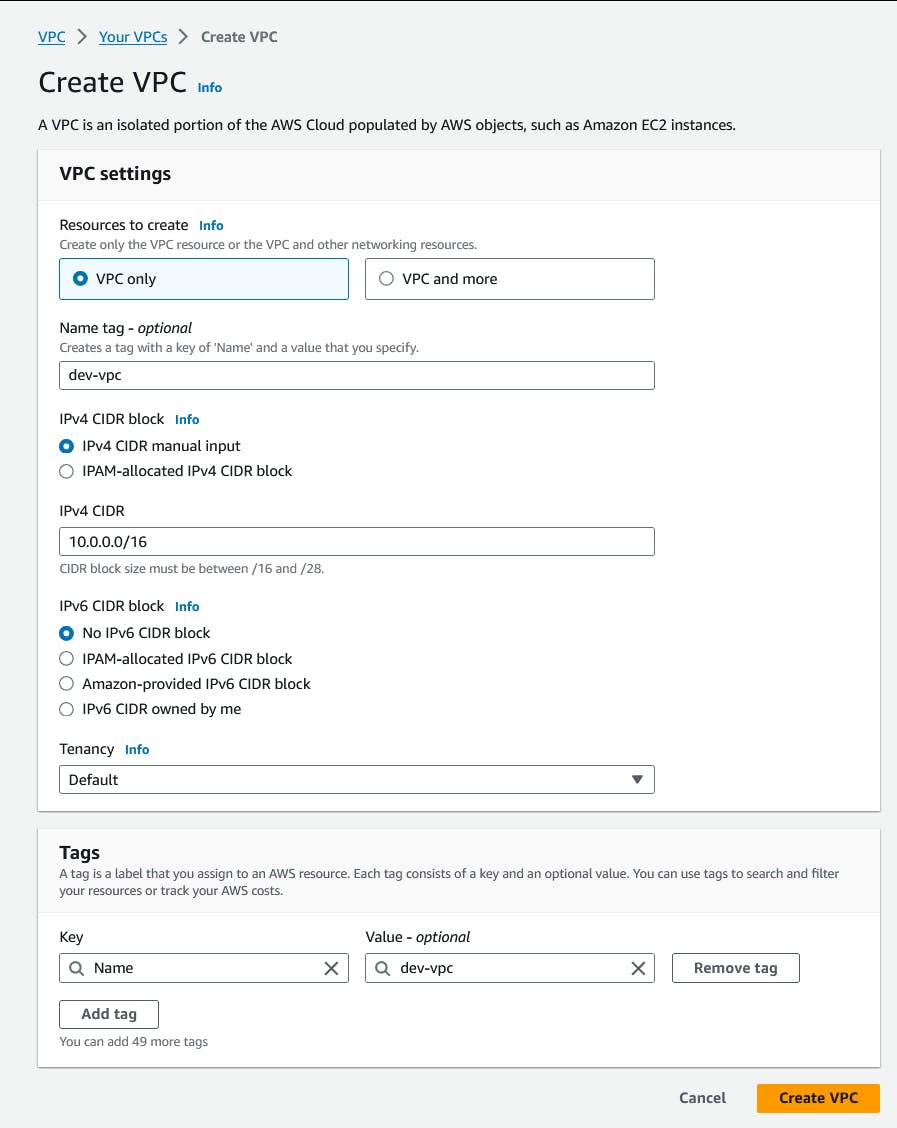
Select Create VPC button to create a new VPC
Select VPC only option and provide the below details
Name: dev-vpc
IPv4 CIDR: 10.0.0.0/16
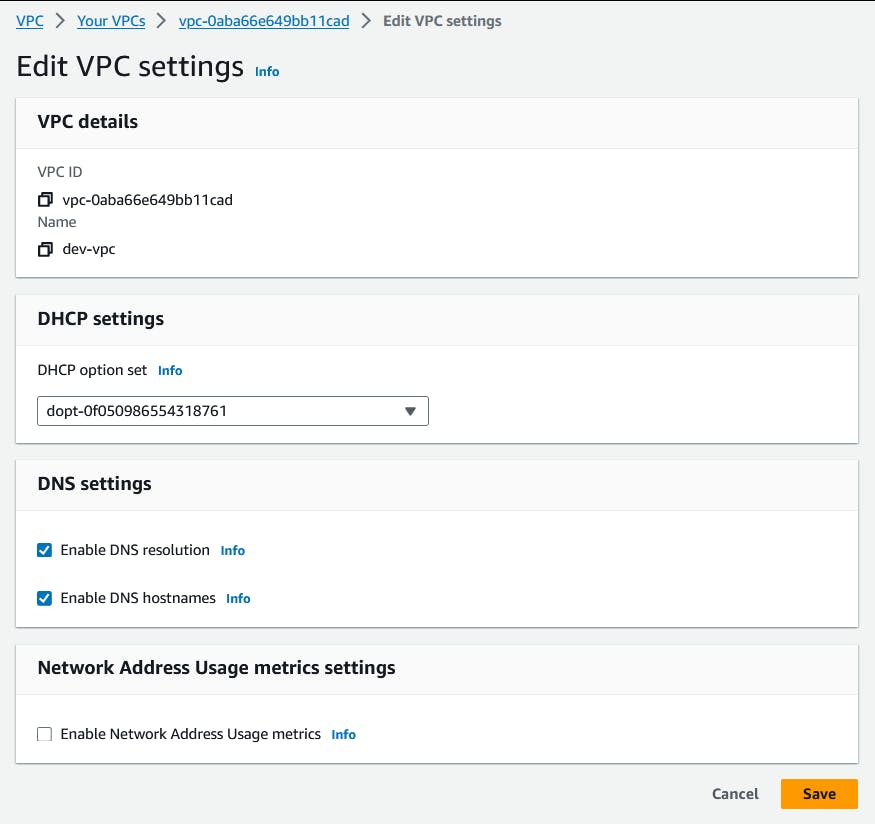
Once the VPC is created, select Actions -> Edit VPC Settings to Enable DNS hostnames
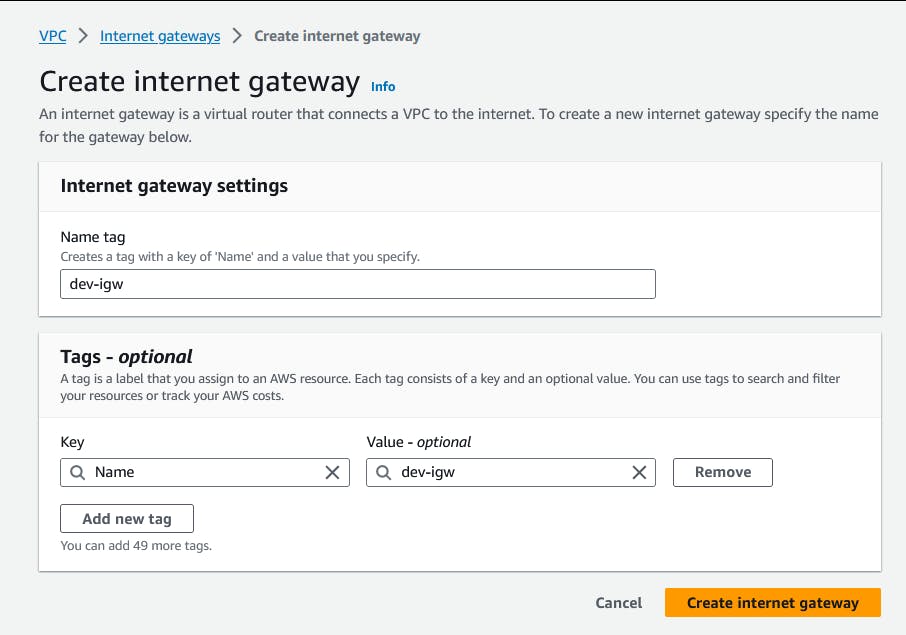
Internet Gateway
From the left menu, select Internet gateways to create one
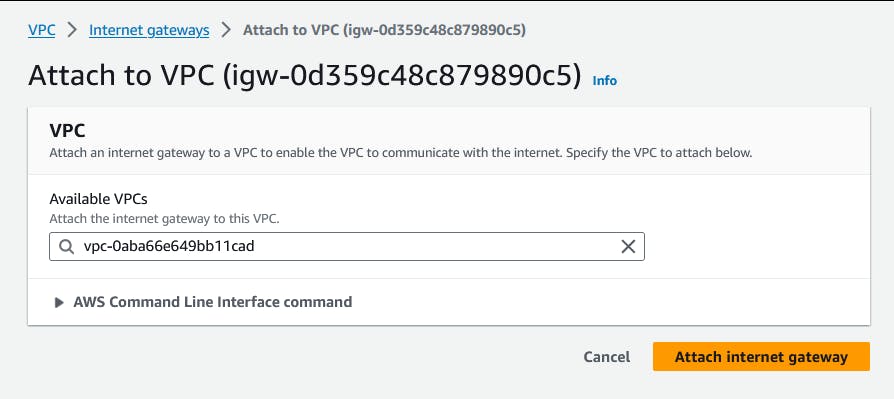
Attach internet gateway to our VPC by selecting Actions -> Attach to VPC option and select the VPC
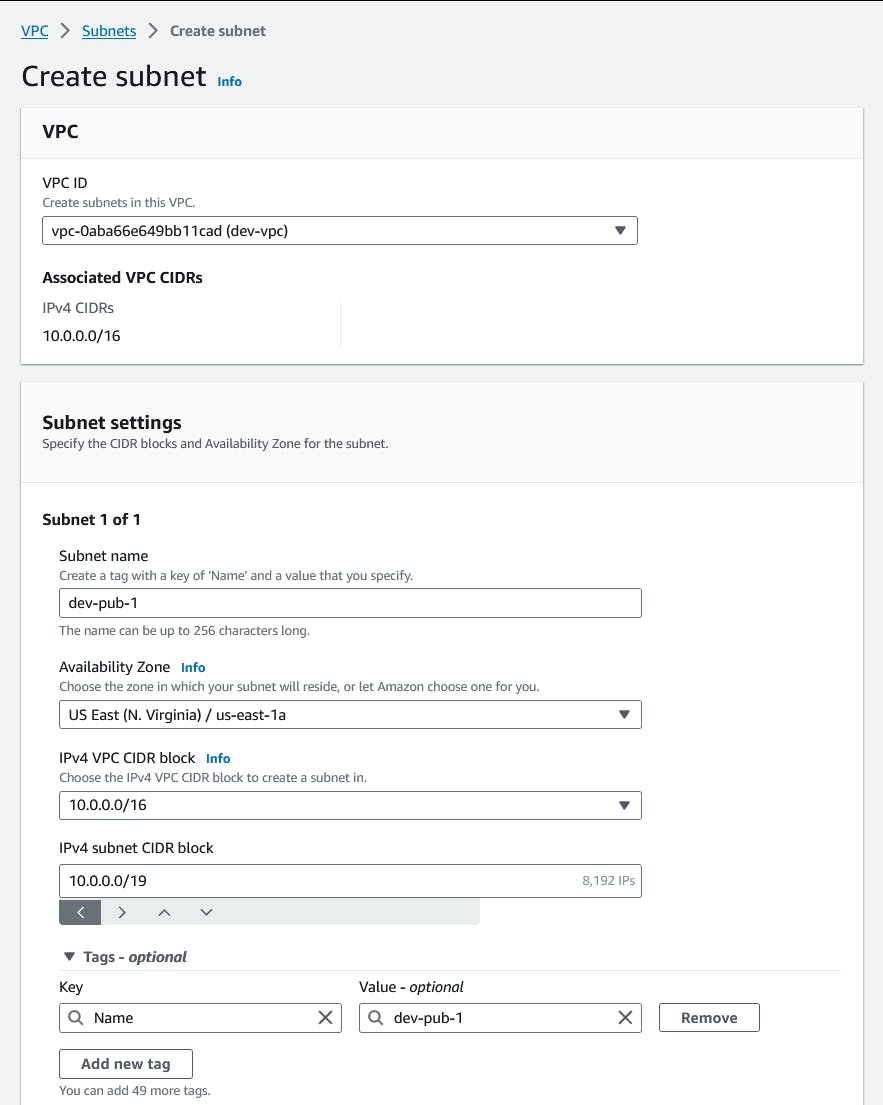
Subnets
From the left menu, select Subnets option to one
We need to create 2 Public and 2 Private subnets
Public Subnets
Create first public subnet with below details
Subnet name: dev-pub-1
Availability Zone: us-east-1a
IPv4 subnet CIDR block: 10.0.0.0/19
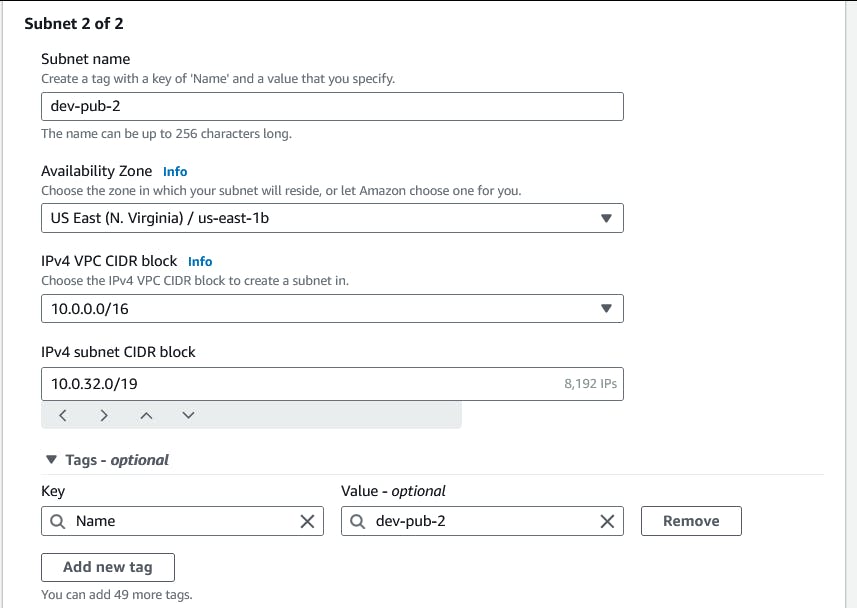
Create second public subnet with below details
Subnet name: dev-pub-2
Availability Zone: us-east-1a
IPv4 subnet CIDR block: 10.0.32.0/19
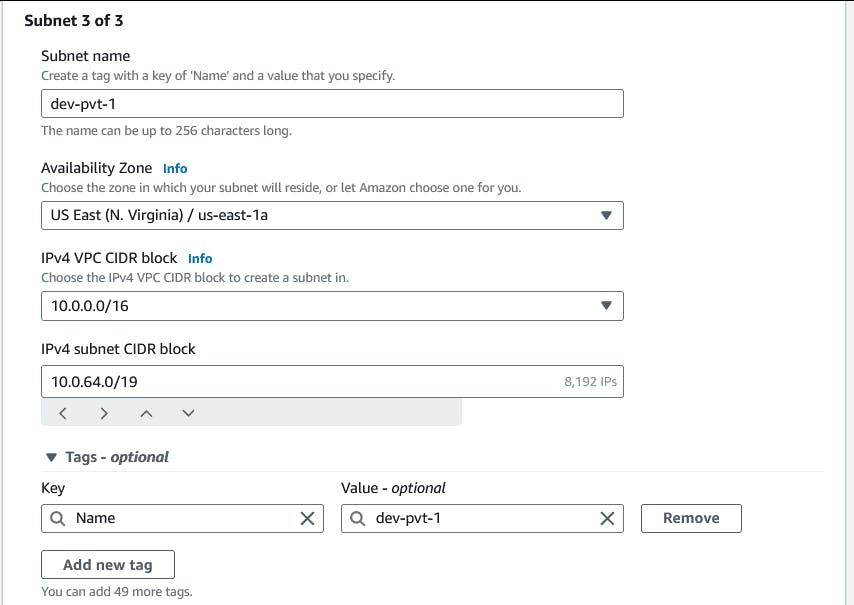
Private Subnets
Create first private subnet with below details
Subnet name: dev-pvt-1
Availability Zone: us-east-1a
IPv4 subnet CIDR block: 10.0.64.0/19
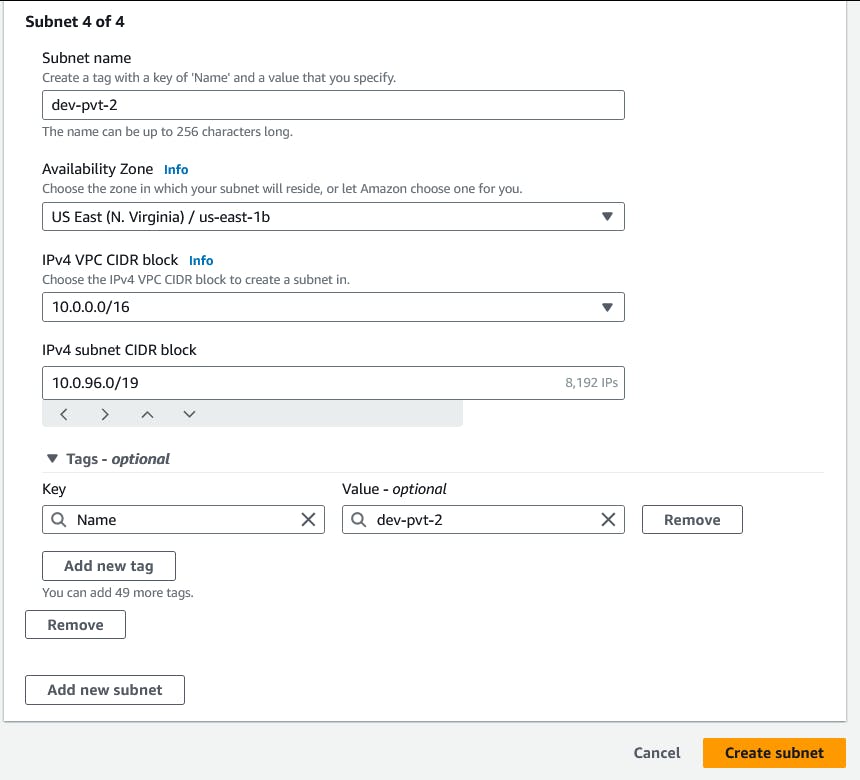
Create second private subnet with below details
Subnet name: dev-pvt-1
Availability Zone: us-east-1a
IPv4 subnet CIDR block: 10.0.96.0/19
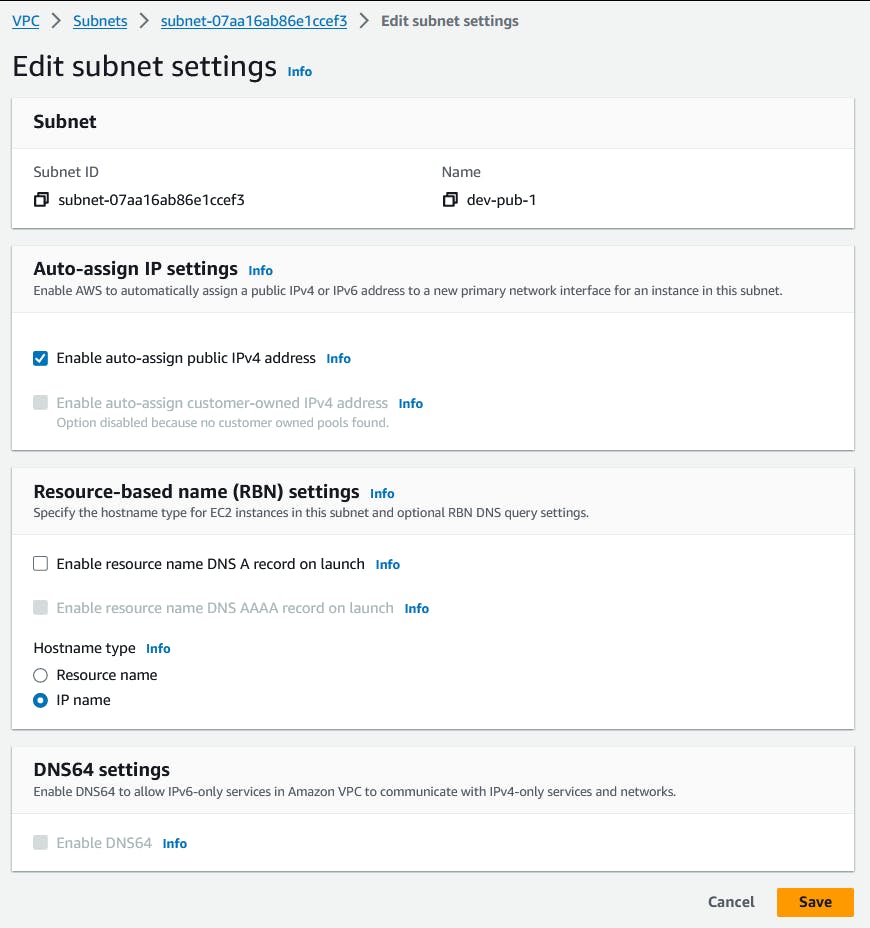
Enable auto assign public IP settings in the first public subnet by selecting Actions -> Edit subnet settings
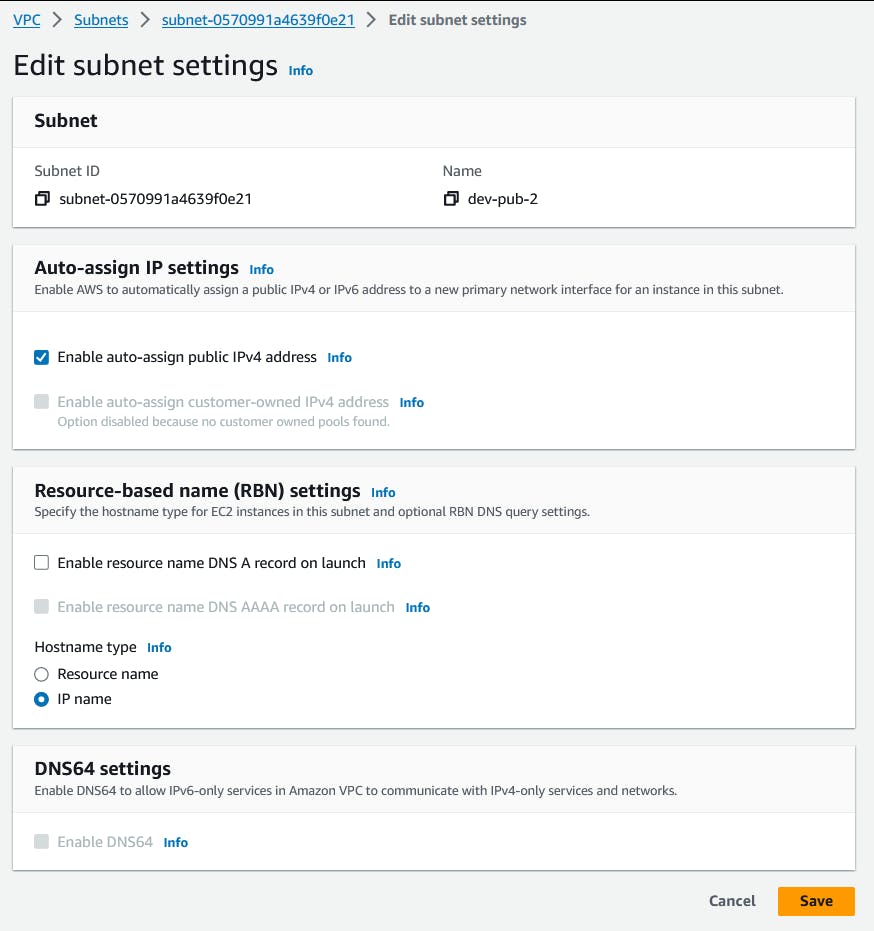
Enable auto assign public IP settings in the second public subnet by selecting Actions -> Edit subnet settings
NAT Gateway
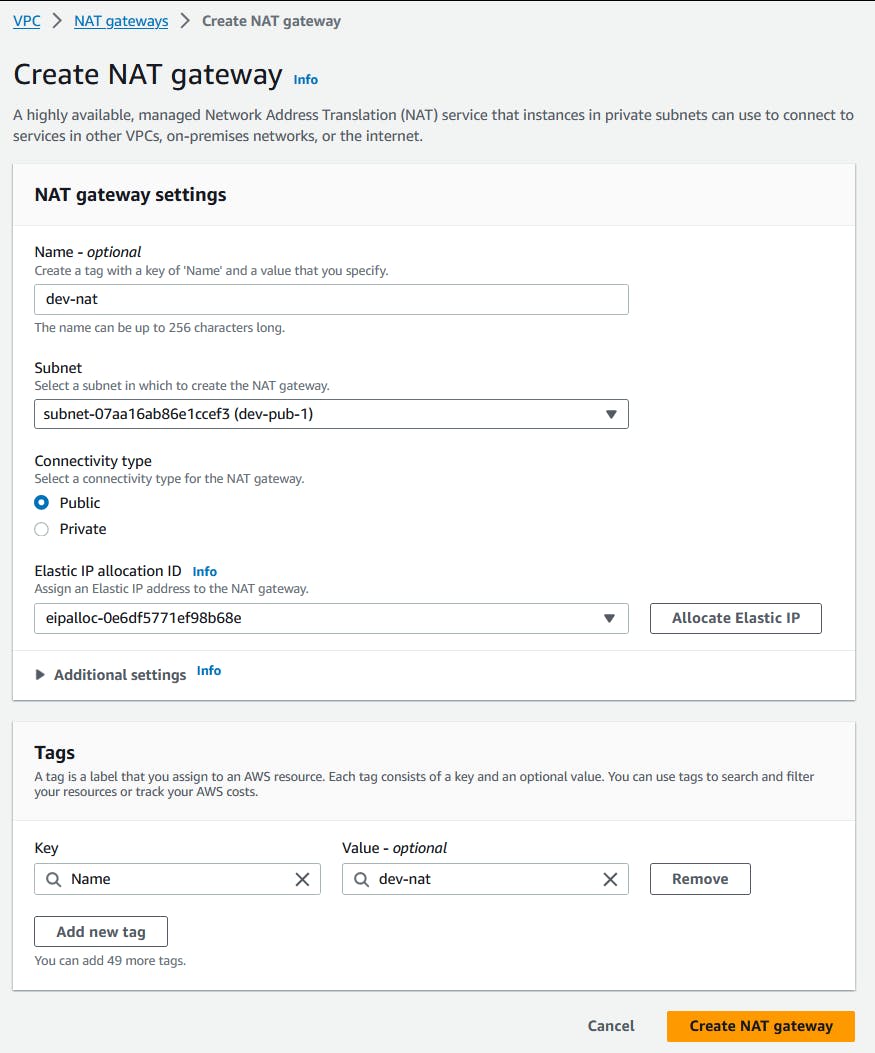
From the left menu, select NAT gateways options to create one with the below details.
Name: dev-nat
Subnet: dev-pub-1
Elastic IP allocation ID: click on Allocate Elastic IP
Route Tables
Public Route Table
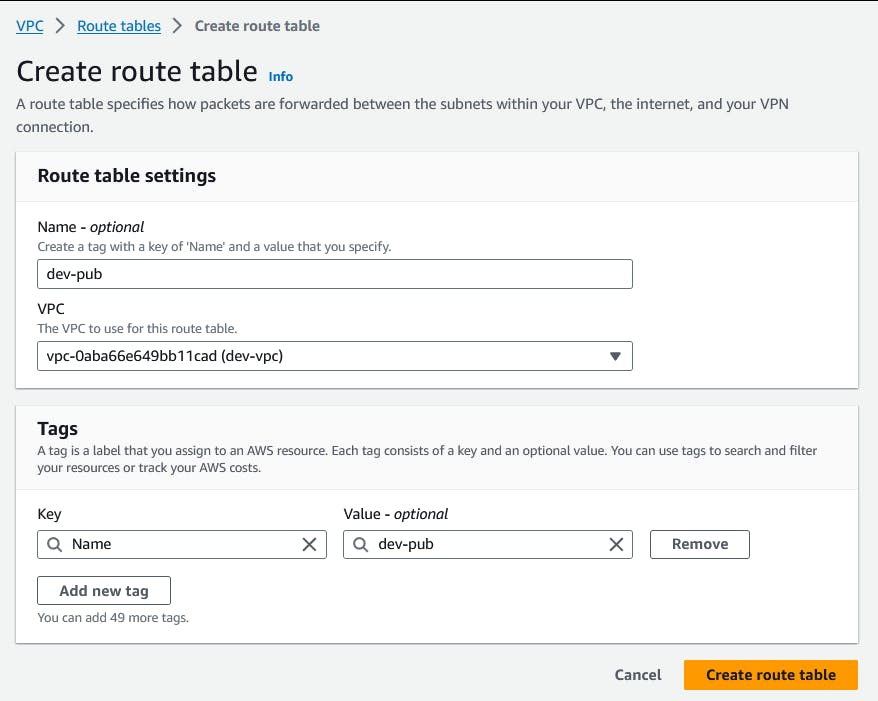
From the left menu, select Route tables option for to create a route table for the Public Subnets
Add a route to the Internet Gateway in order to get internet access in the public subnets

Associate both Public Subnets to the route table

Private Route Table
Create a Route table for the Private Subnets

Add a route to NAT gateway in order to get internet access in the Private subnet

Associate both the Private subnets to the Route table

Network ACL
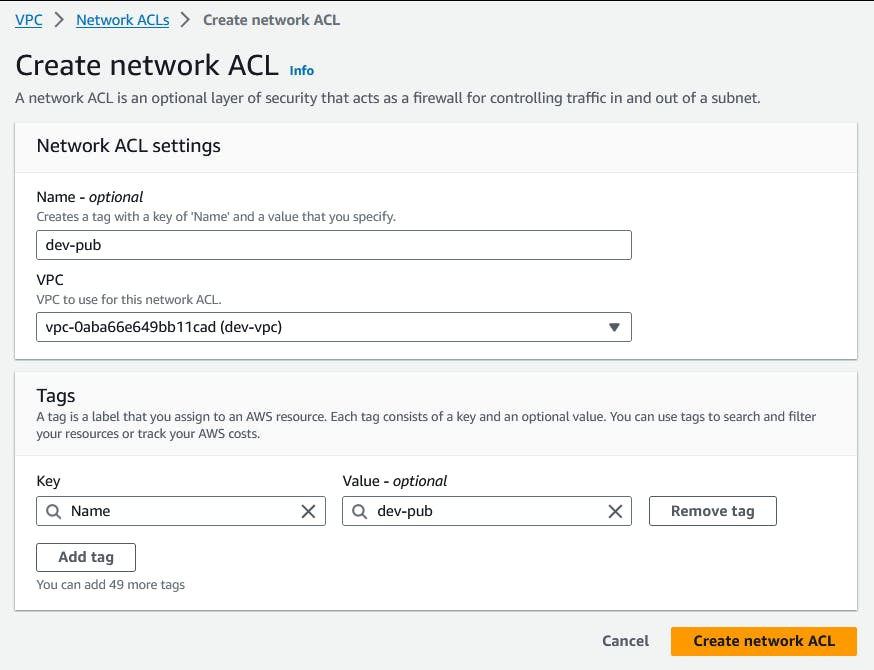
Public Network ACL
From the left menu, select Network ACLs option to create a Network ACL for the Public subnets
Add an inbound rule with rule number 100 to allow all incoming traffic

Add an outbound rule with rule number 100 to allow all outgoing traffic

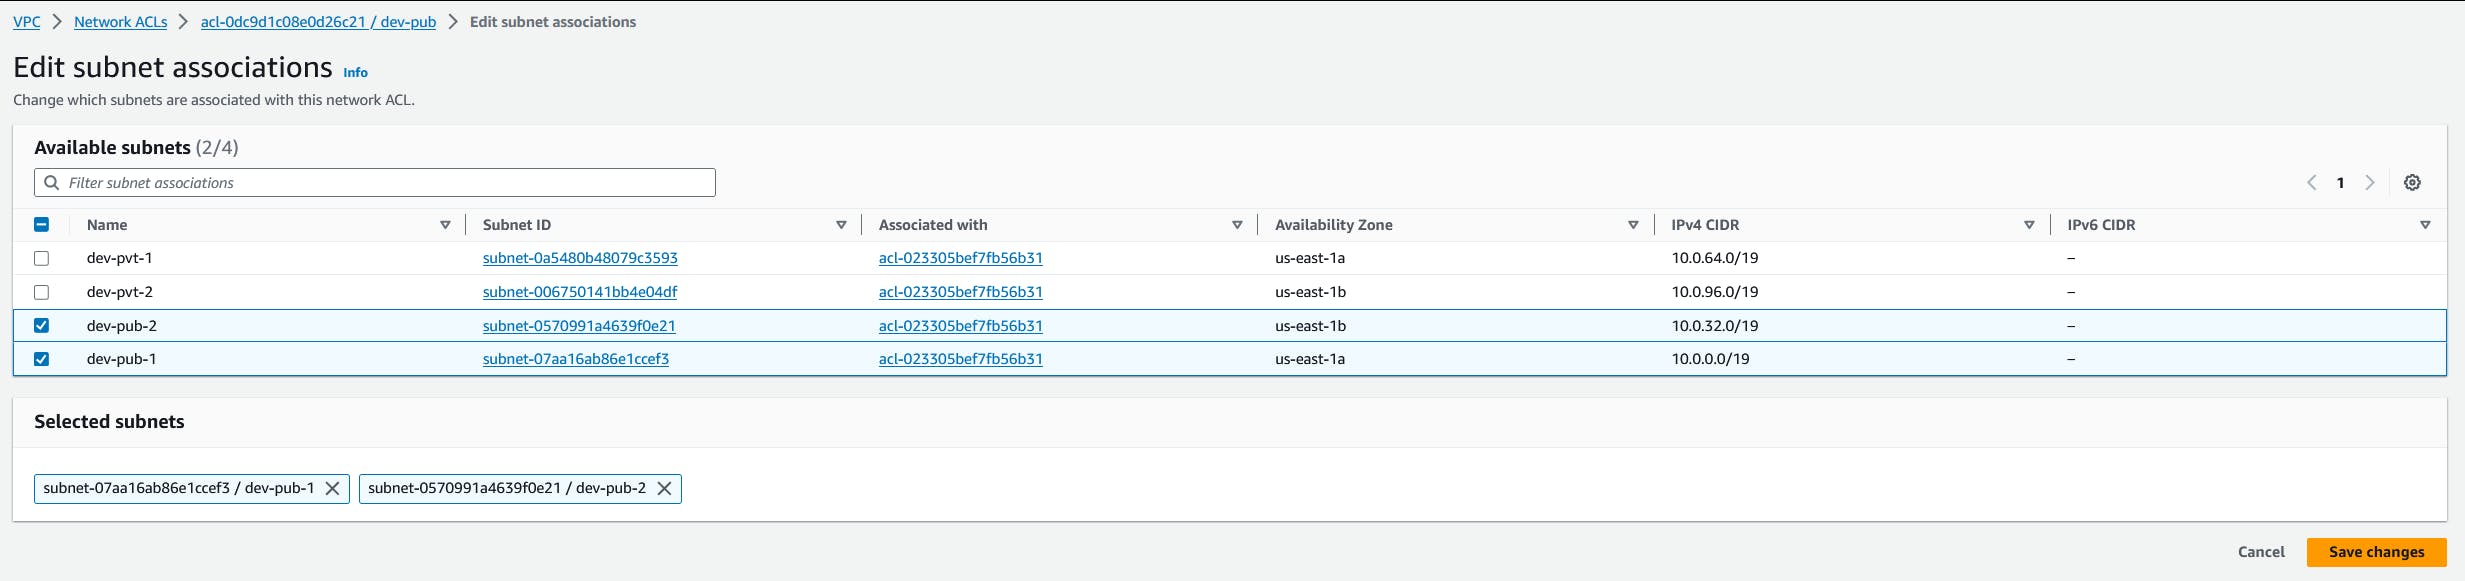
Associate Public subnets to the Network ACL
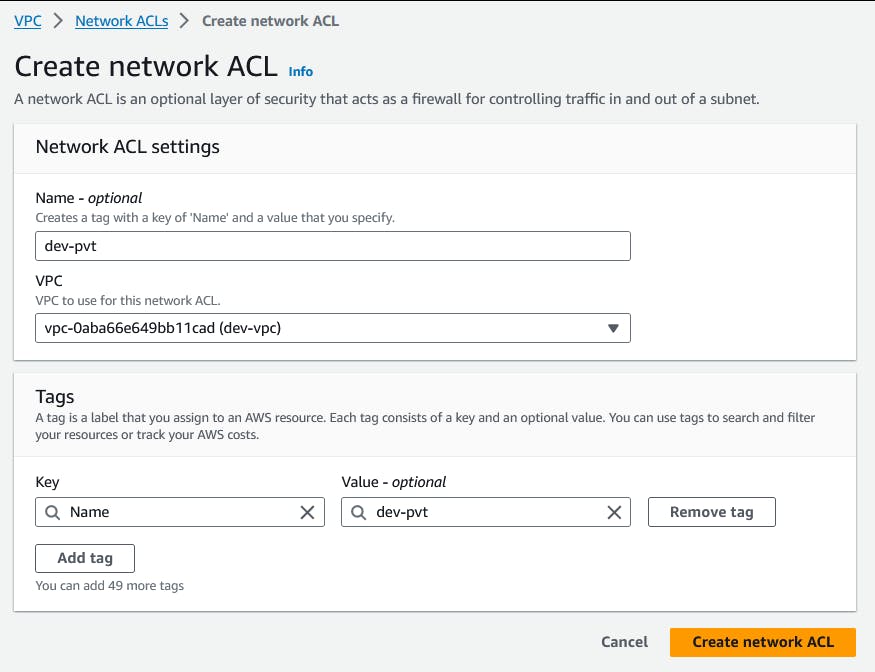
Private Network ACL
Create a Network ACL for the Private subnets
Add an inbound rule with rule number 100 to allow all incoming traffic

Add an outbound rule with rule number 100 to allow all outgoing traffic

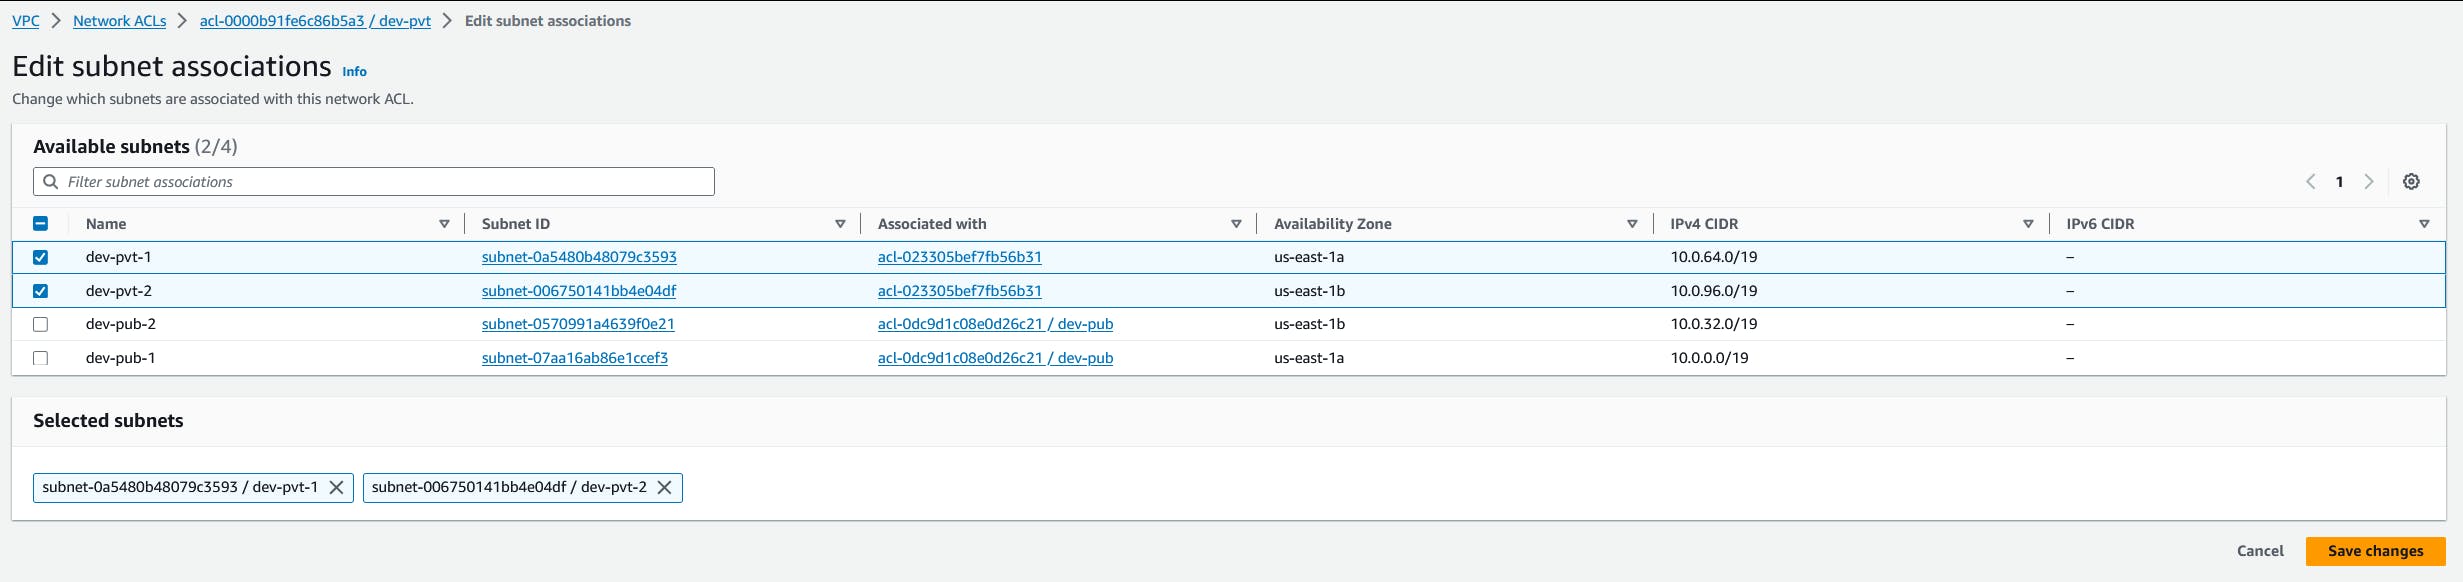
Associate Private subnets to the Network ACL
That's all for now
Reference
https://docs.aws.amazon.com/vpc/latest/userguide/what-is-amazon-vpc.html
Next Steps
Checkout my guide on launching Amazon EC2 instances in the public and private subnets